Live Proctoring (Deprecated)
Attention
Deprecation Note:
The SEB Server live proctoring integration with Zoom and Jitsi Meet is deprecated in SEB Server 1.6. The upcoming version of SEB Server, targeted for August 2024, will remove the live proctoring integration with Zoom and Jitsi Meet.
Live proctoring is experimental feature of SEB and SEB Server. The feature is fully optional and not enabled by default. The main goal of the live proctoring feature is to support the integration of an external meeting service like Jitsi Meet or Zoom for example, within a SEB and SEB Server setup for an exam. In this scenario a SEB client is able to join a meeting and send audio and video data to the meeting where a proctor can watch the students during an exam within this meeting(s). The role of SEB Server in this scenario is mainly to bind a particular meeting service and automatically create meeting rooms, instruct connected SEB clients to join a certain meeting room. SEB Server can also instruct SEB clients to participate in the meeting by allowing connected SEB clients to receive audio and video as well as enabling chat functionality.
Note
This feature is still in a prototype state and not all functionality might work as expected. Basically the meeting features are given or restricted by the meeting service that is used and the API and GUI that is given by that meeting service client
To be able to use the integrated live proctoring feature with SEB and SEB Server you need an external meeting service that can be used by the SEB Server to automatically create meetings. If this feature is enabled, you are able to setup a live proctoring service for a specified exam that can be used in the monitoring later on while the exam is running and SEB clients are connected.
Currently supported meeting services are: - Jitsi Meet with JWT token authentication enabled. - Zoom meeting service with an account plan that fits your need and supports the Zoom API and Client SDKs.
To bind and setup a live proctoring service in SEB Server for an exam, go to the view page of the exam and use the “Proctoring Settings” action on the right action pane to open up the proctoring settings dialog.

Within the proctoring settings dialog you are able to switch the service on and off by using the “Proctoring enabled” checkbox. You also see if the proctoring service is enabled within the action icon that is either an eye when active or a slashed eye when not active. To define and bind a service you have to choose a service type from the available service types. And you need to give the API access credentials like “Application Key” and “Secret” for the external meeting service. SEB Server will then try to connect to the meeting service with these credentials to automatically create meetings/rooms for proctoring. Within the “Collecting Room Size” field you can define the number of maximal participants that shall be collected within one proctoring room. SEB Server will automatically create these collecting rooms while SEB clients are connecting to the running exam in the monitoring view.
Note
If you choose Zoom as your proctoring service and you also want to conduct your exam with Mac and/or iOS SEB Clients you will also need a Zoom SDK-Key and -Secret since SEB Mac/iOS uses Zoom SDK for proctoring integration.
Scroll down the Proctoring Settings window to see more settings for SEB Server based proctoring features:

Use Zoom App-Client: Enable this setting to use a Zoom App/Desktop client for the origin proctoring room. This needs an existing Zoom Desktop App installation on the proctor’s desktop.
Broadcasting Feature: Enable this to see the broadcasting features buttons in the opened proctoring windows. E.g. “Enable/Disable Audio” and “Enable/Disable Video” buttons.
Chat Feature: Enable this to see the “Enable/Disable Chat” feature buttons in the opened proctoring windows.
One to One Room: Enable this to see the One to One Room feature button during an exam monitoring within a SEB Client detail view
Town-Hall Room: Enable this to see the Town-Hall Room feature button in the exam monitoring view
To read more about this proctoring features, please have a look at Exam Monitoring.
After you have all the settings done, use “OK” to confirm the settings. SEB Server will then try to connect to the meeting service with the given settings and check the access.
Note
Once a proctoring service is integrated for an exam, it is currently not possible to switch it to another service anymore. This is because different services needs different meeting reference data on SEB Server and there is no conversion supported. In the future we will make it possible to at least delete an already existing proctoring setup and to start from scratch.
The SEB client settings for proctoring can be found in the “Exam Configuration” “SEB Settings”. There is a new tab with the name “Proctoring” where all SEB settings for proctoring are available. These settings are directly used by a SEB client that supports the proctoring feature. SEB will initialize with this settings when connecting to SEB Server and also will use this settings as default settings during an exam.

Since SEB Server version 1.2 there is also an Zoom service section that let you define the default SEB settings for a Zoom proctoring setup. Please be aware that not all of the settings are functioning yet. Please refer to the settings tool-tip to get a actual description of a particular SEB feature setting
Jitsi Meet
To setup and configure a Jitsi Meet service for testing you can refer to the Docker installation documentation
Note
The Jitsi Meet integration works only with JWT authentication. Please refer to the above documentation for how to setup JWT authentication.
Zoom

To integrate Zoom meetings as a live proctoring service within SEB Server you need to have an appropriate Zoom account with API and SDK access. Zoom API and Client SDKs. Then you need to setup the Zoom account to run with JWT apps as described:
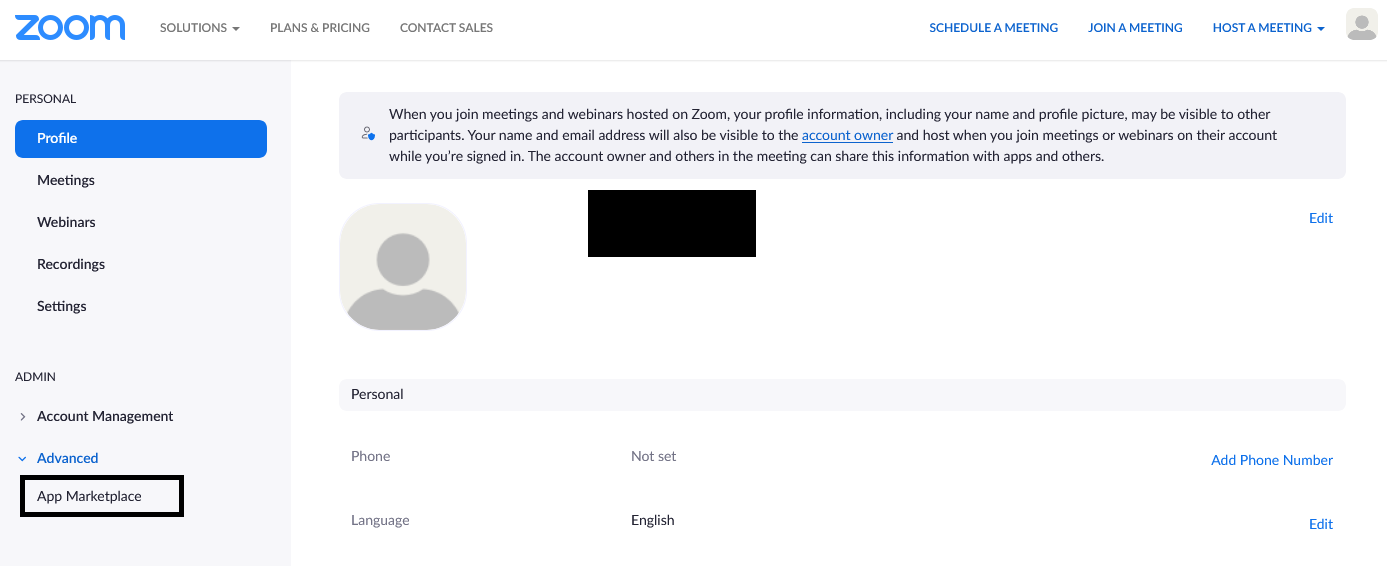
Login into your Zoom account and use “App Marketplace” to setup an API app account
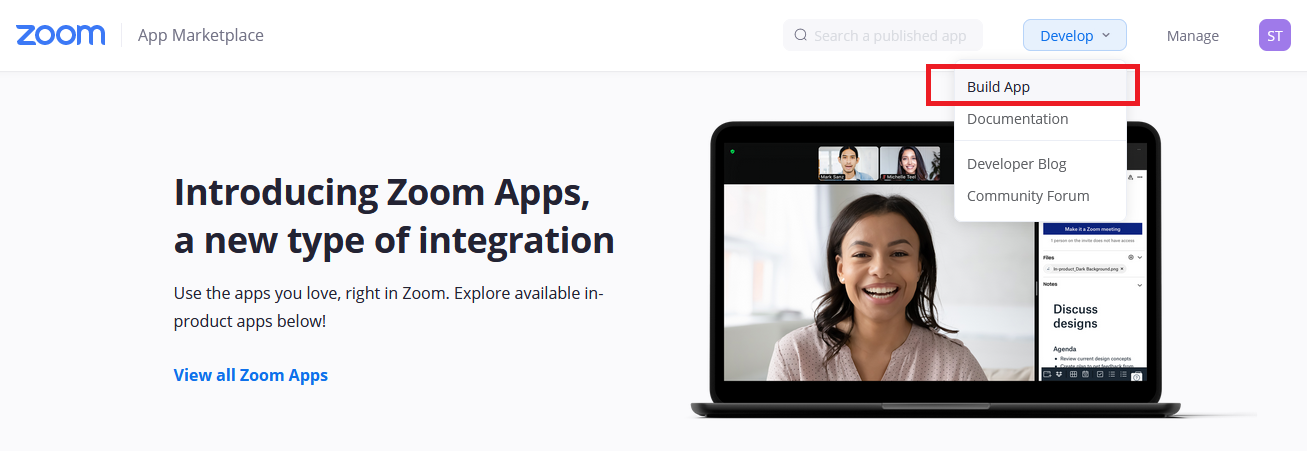
Within the Zoom Marketplace use “Develop” and select “Build App”.
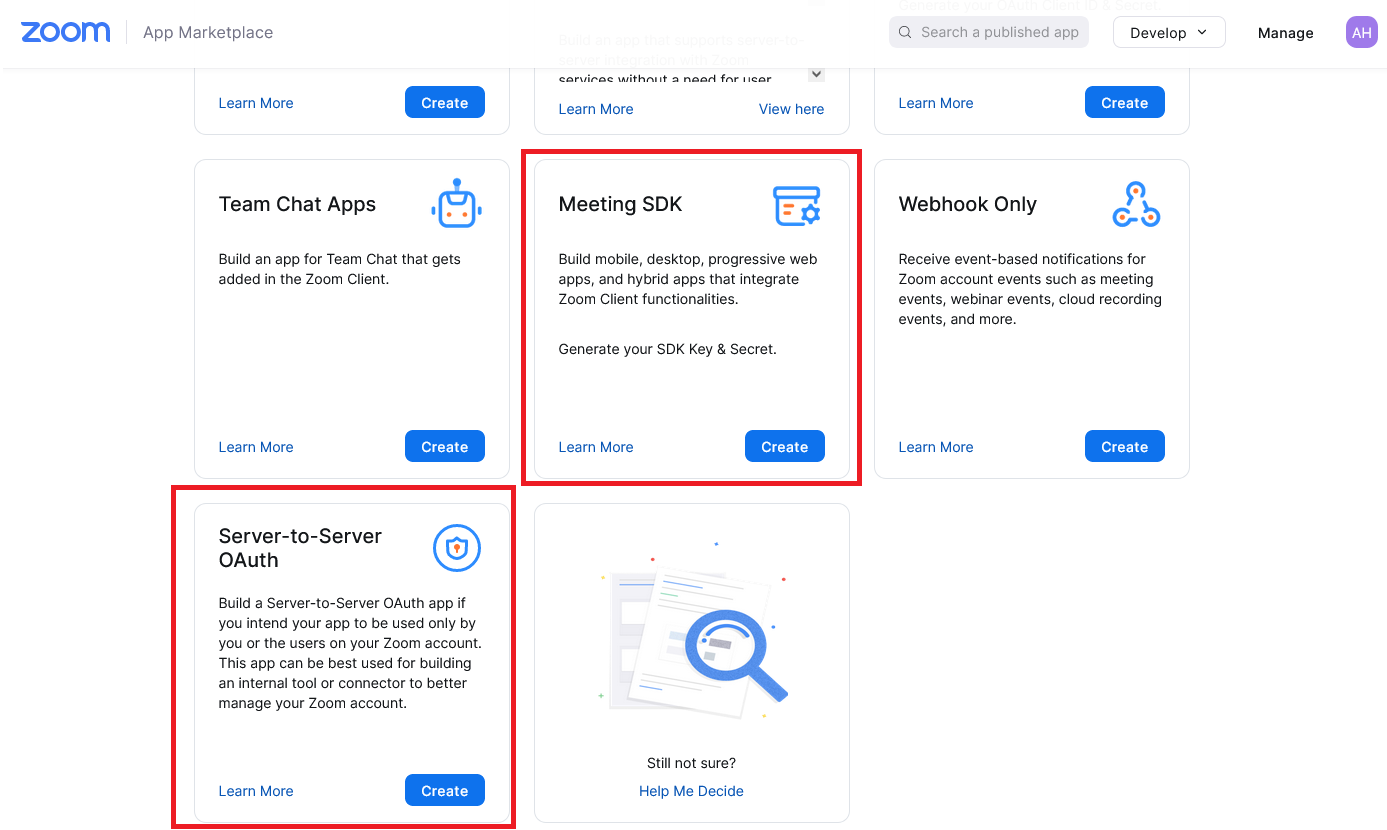
Choose “MeetingSDK” fist to create a meeting SDK app that is been used SEB to connect to Zoom meetings.
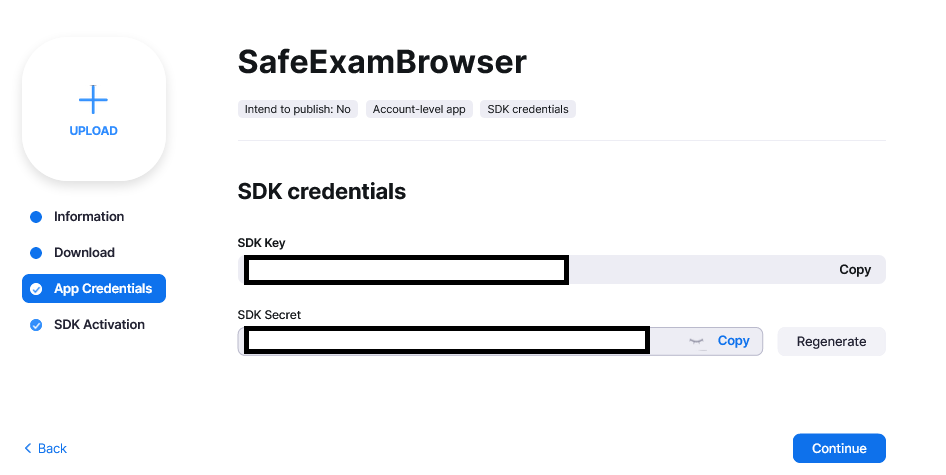
Follow the instructions to create the API account and use the “SDK Key” and “SDK Secret” within the setup in SEB Server proctoring settings
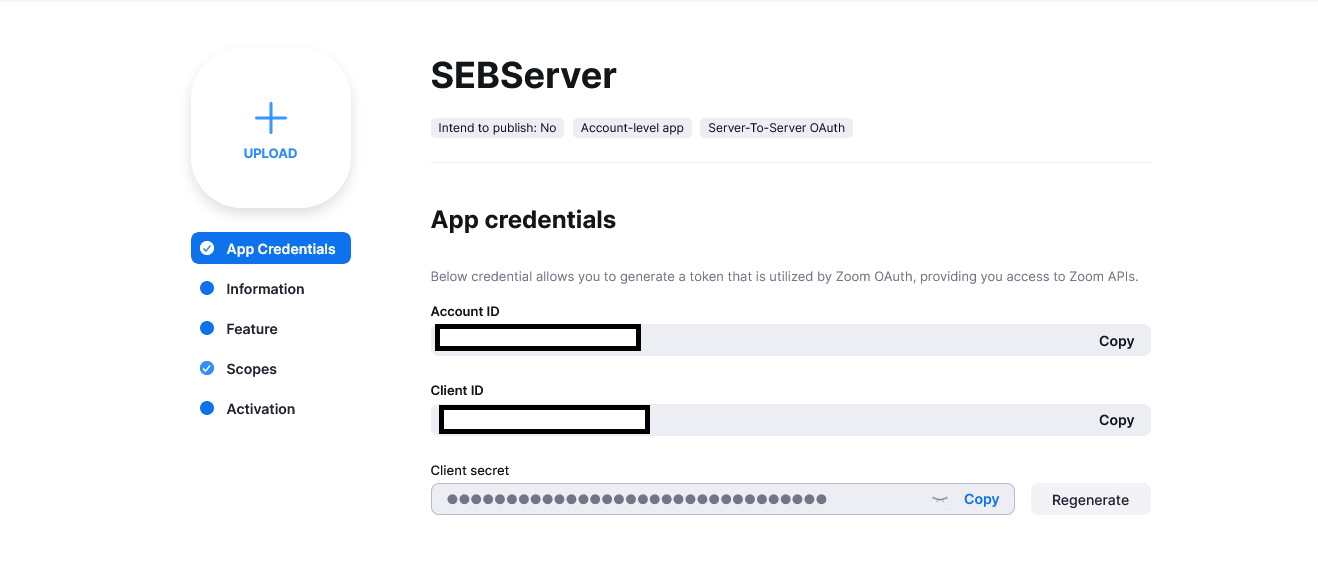
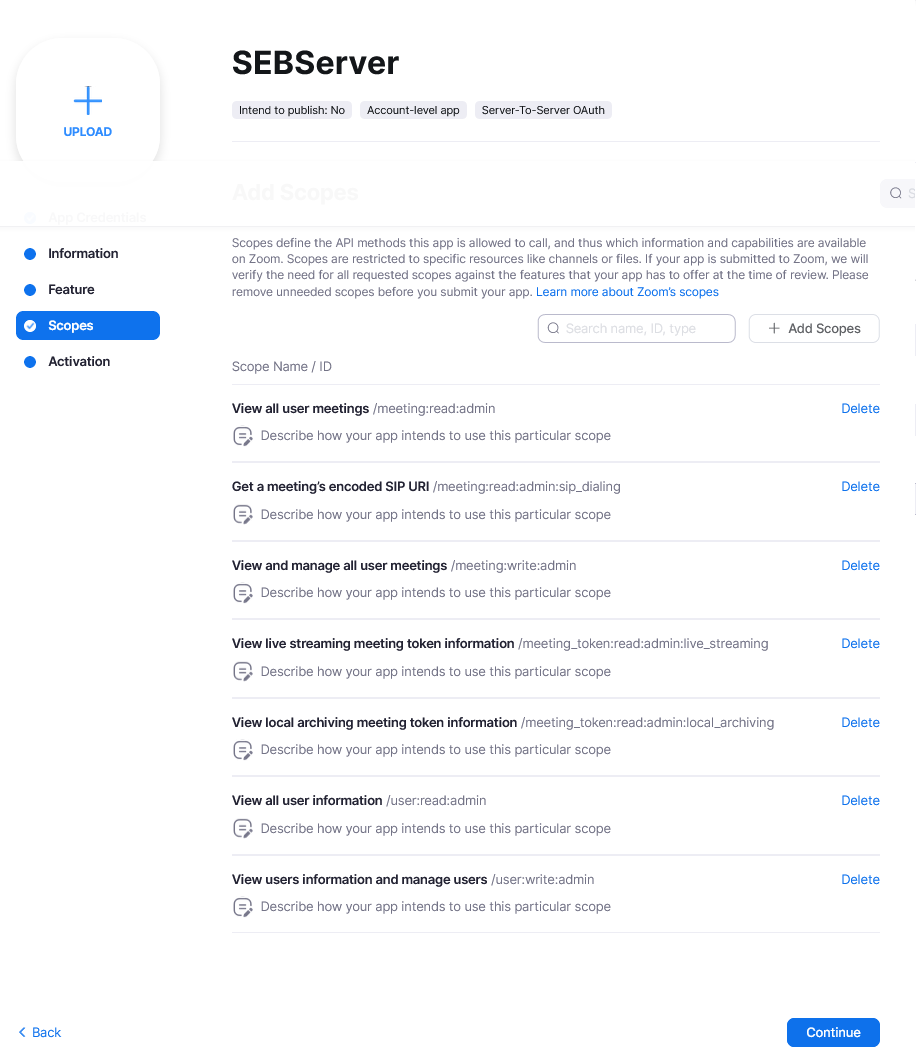
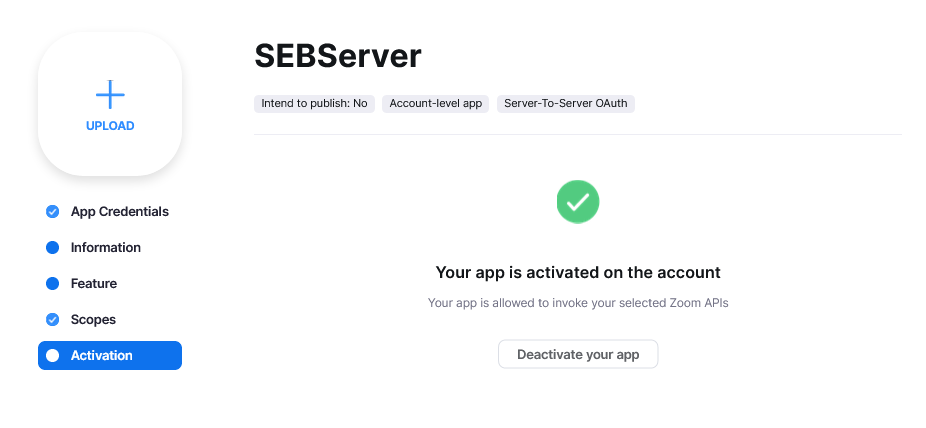
Then choose the “Server-toServer OAuth” to create a API access for SEB Server to connect to Zoom service API. This is needed on SEB Server do create and maintain users and meetings
Follow the instructions to create the “Server-toServer OAuth” app on the page and make sure you have and set needed privileges as shown below.
Reset Rooms
This functionality is new since SEB Server version 1.5 and allows you to reset already created but collecting rooms for an exam. This action is only available if you already have collecting rooms for an running exam and if there is no active SEB client connected to the exam. Then you can reset your proctoring rooms with this actions and also do some proctoring settings changes.
